
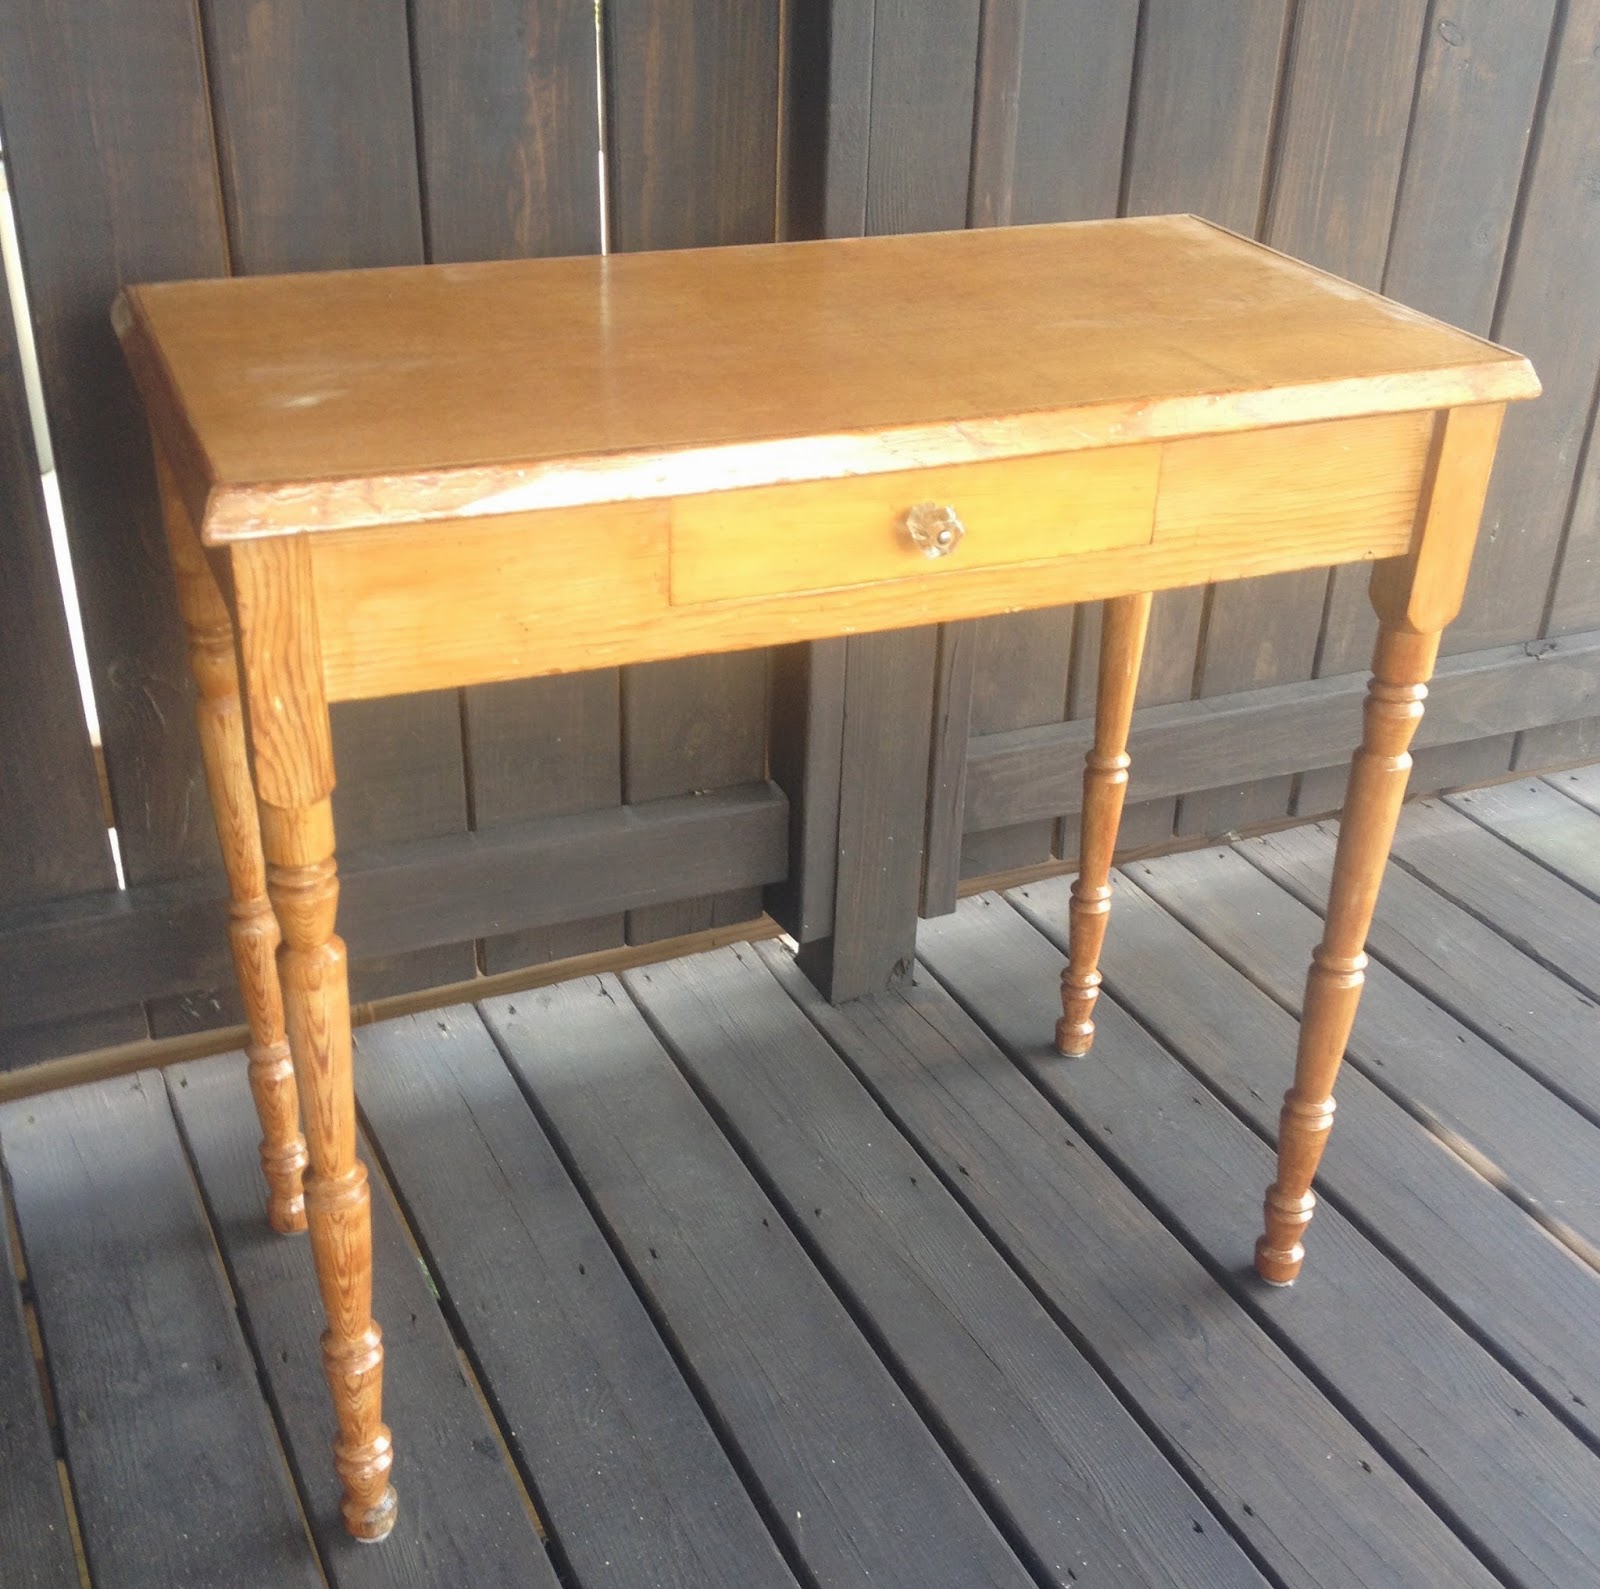
I recently received an email from my friend Jane asking for help and advice on painting a table that she and her husband, Chris, use in the entry way of their home.
The table had belonged to her great-grandmother in South Dakota and it was used to can fruits and vegetables. Jane's dad was able to squeeze it in the backseat of her car and it's had a new home in DC ever since. In her email, Jane said she knew she wanted to use Napoleonic Blue - a deep, almost navy color - to match some other interiors in her living room.
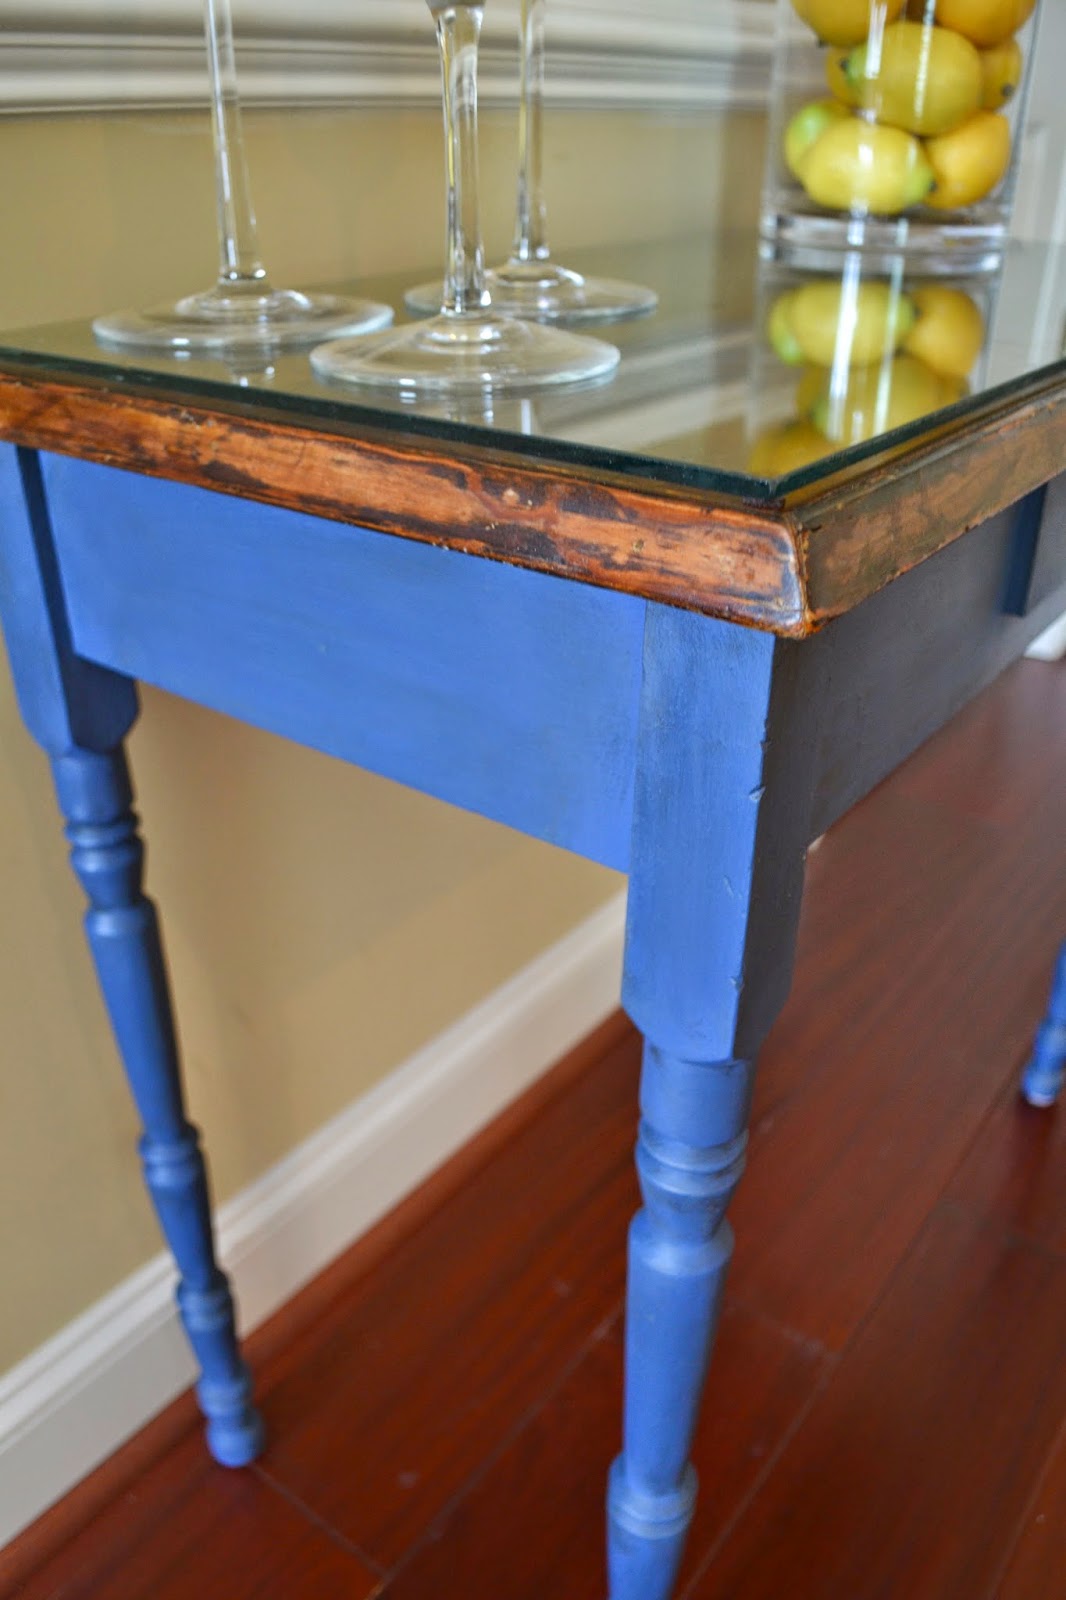
After emailing back and forth, it was decided that Jane would stain the top herself and I would come to her home to do the painting and waxing. She lightly sanded the top and applied a stain and a poly coating to seal it. She already had a piece of glass cut to protect the top, which really elevated the look of the table.

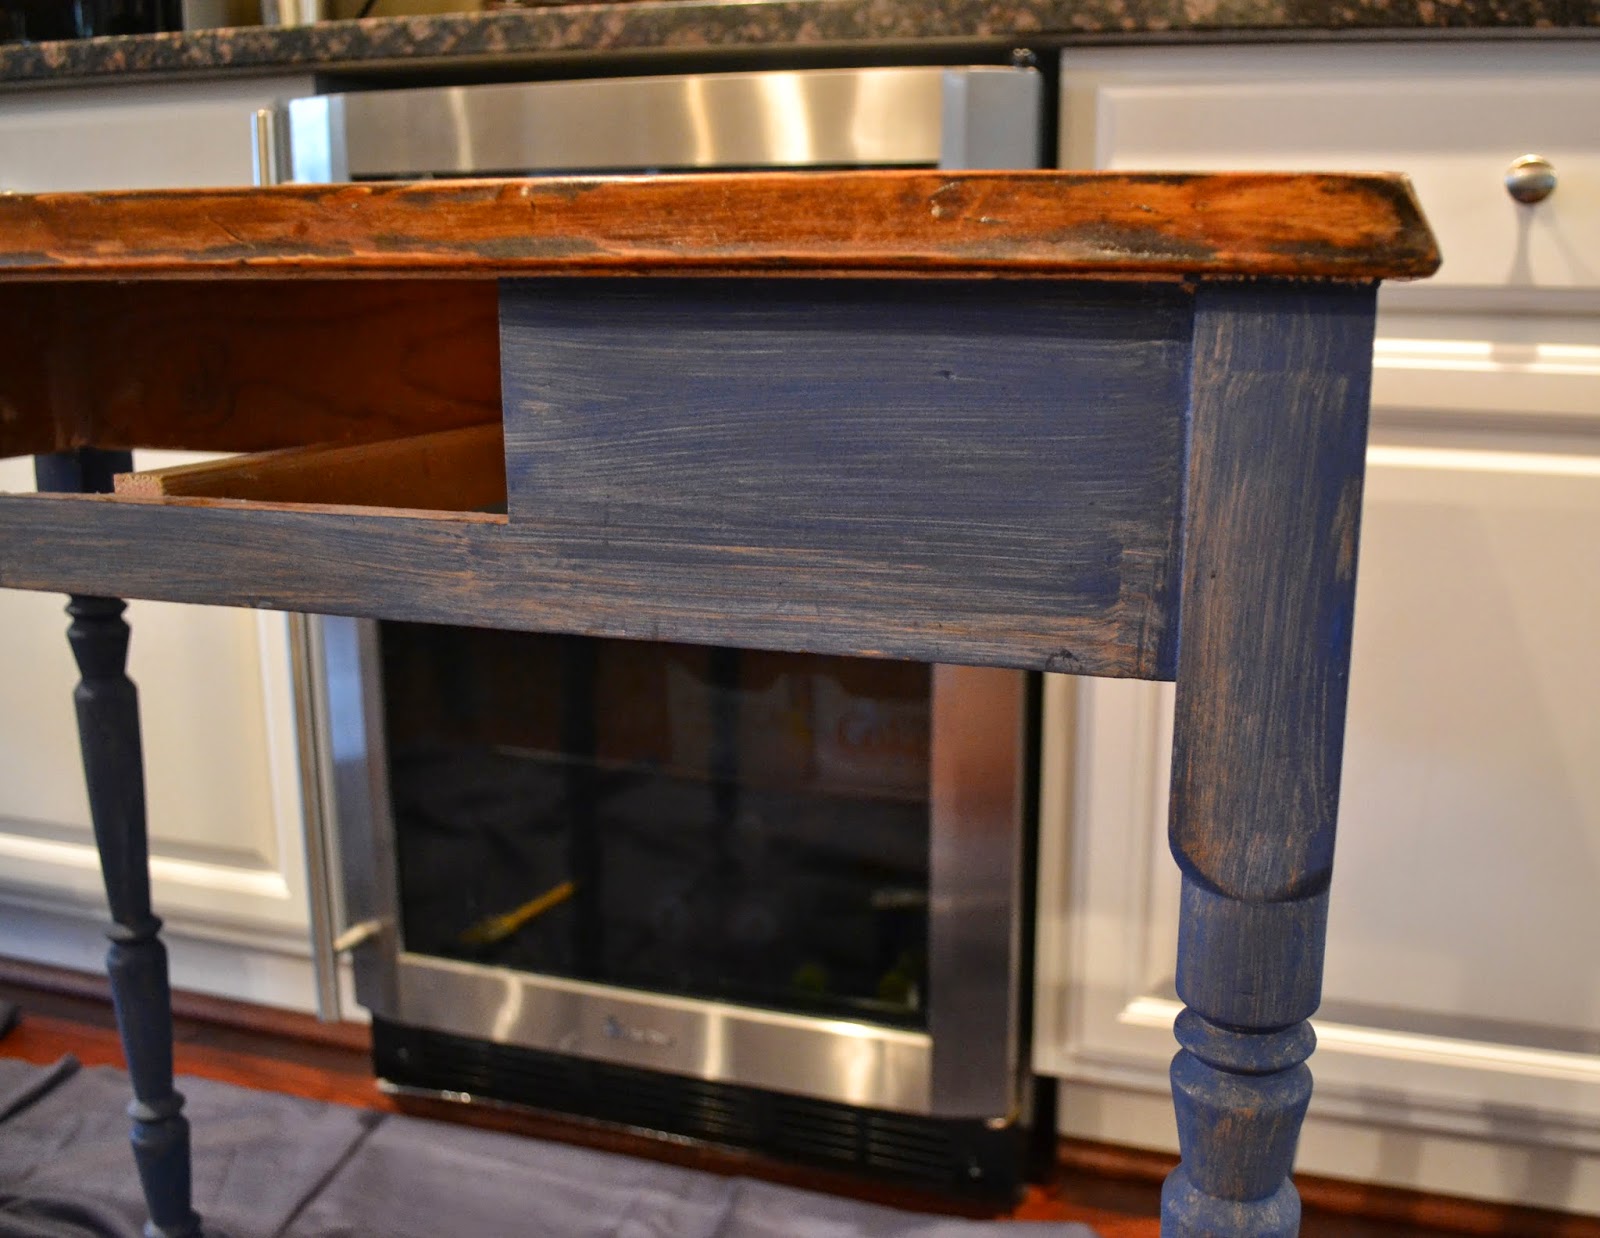
This piece is a great example of the unpredictability of painting. If I had wagered a guess, I would have been certain that this table would have needed two coats of paint--since the wood was so light and the paint so dark. This is what the table looked like after one coat.
For the second coat, I flipped the table over (setting the top on the drop-cloth on the floor) and painting upside down. This was especially helpful since the legs were decorative--it made it much easier to get all the nooks and crannies.
After a second coat, there were still little bits of the wood showing through! Jane and I decided a light third coat would be needed. Sure enough, the third coat yielded a perfect result.
For reference, a 4 ounce test pot covered this entire table three times and we still had a little left over. And remember: with Chalk Paint, there is no sanding or priming, which is a money and time saver!

Between each coat drying (about 15 minutes per coat) Jane and I sipped coffee, snacked on delicious red cherries and had the best time talking about everything from furniture to weddings to travel. I even convinced her to re-vamp and paint her china buffet instead of buying a new one (more on that in another post!).
After the last coat was dry, I got out my Annie Sloan clear wax and dark wax and went over the entire piece. The legs were particularly fun with the decorative woodwork and lots of crevices.

The dark wax toned down the brightness of the paint and gave it a subtle, aged look. The wax needs about 24 hours to dry and about 30 days total to fully cure.

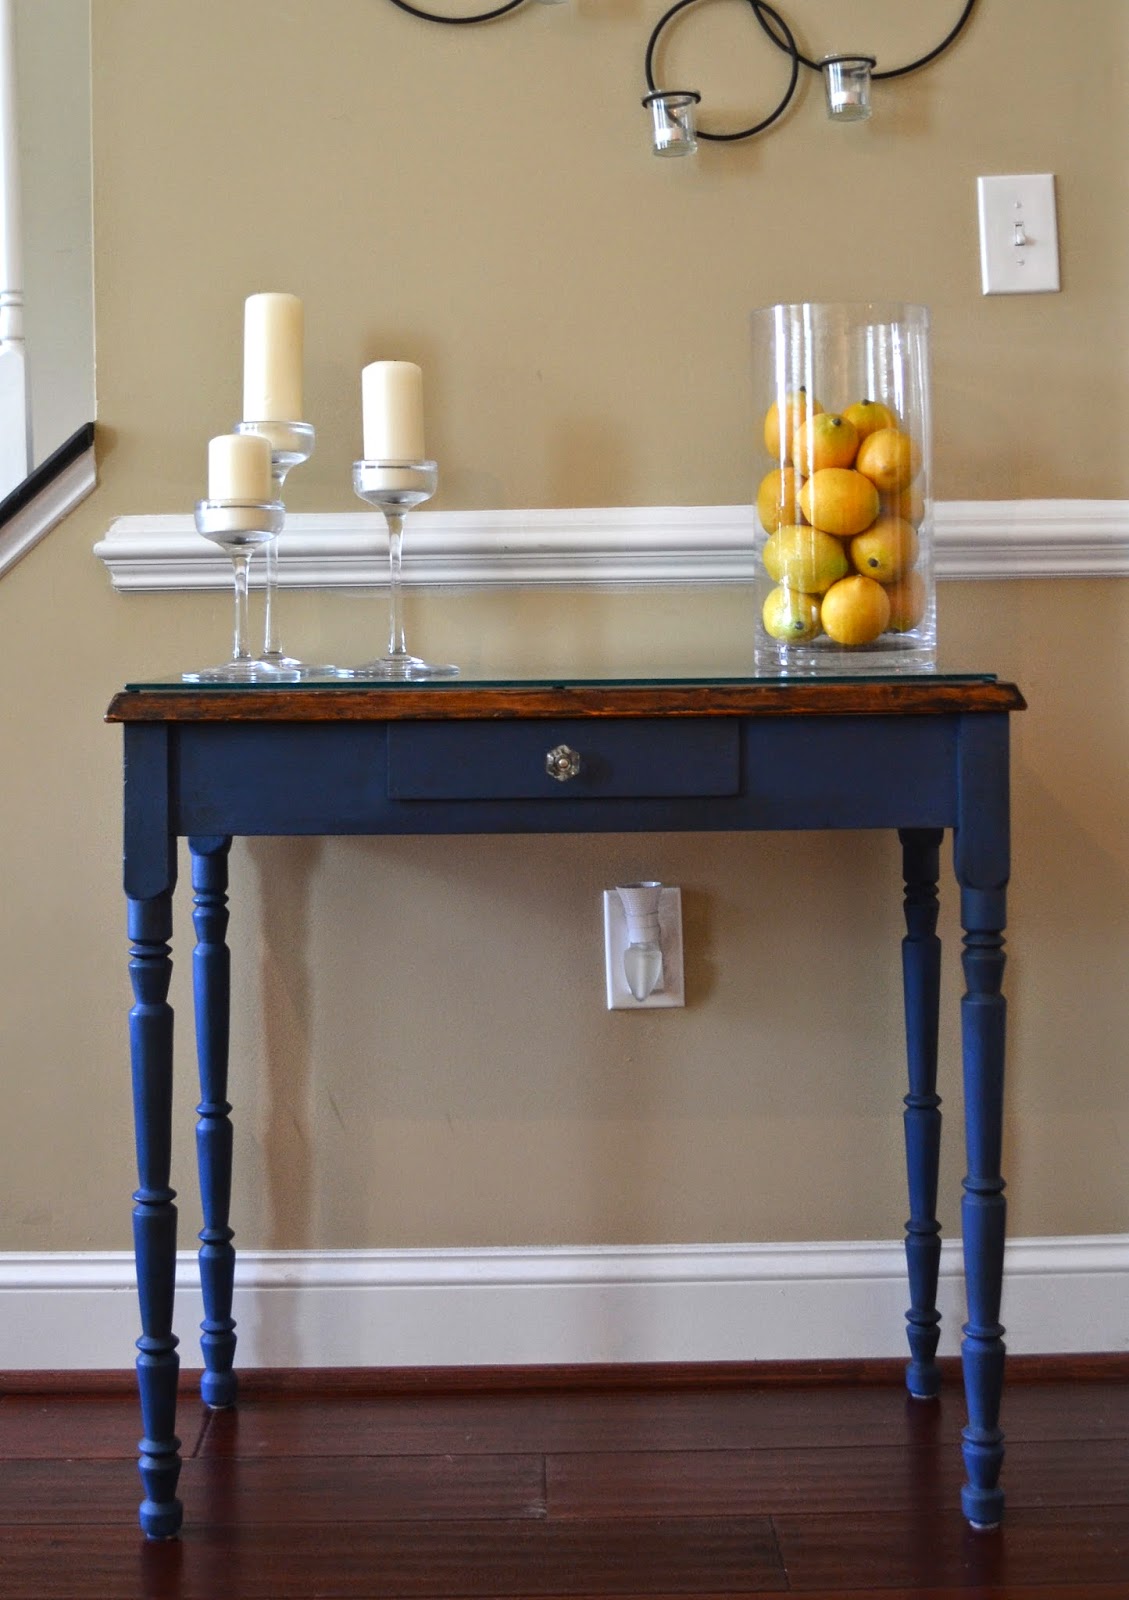
This project helped me fall in love with Napoleonic Blue--here is a photo of the side of the table that is close to a window-- you can see how the light made it look a bit brighter.
Since the top was already stained, this entire project only took about 3 hours. By lunch time on a Saturday, Jane and Chris had a new table. And the best part? This table has a story and meaning to Jane. One of the most rewarding parts about recreating a family piece of furniture is being able to enjoy the memory of a loved one's table while ensuring that it fits in with your current style and needs.
I call that a pretty successful Saturday morning. You can do this too! If you have questions about painting or want to see more examples and tutorials, check out my "Create" page or the Ask for Roses YouTube channel!


Emily! I just painted my husband's night stand (Community Forklift find) and everything I google or search on Pinterest about ASCP brings up at least one reference to your blog. :-) You're famous!! Hope all is well with you and Kern. :-) - Claire
ReplyDelete